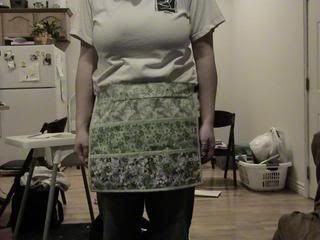
This is my very first tutorial, so hopefully it makes sense! What we will be making is an apron for gardening. This pattern is for personal use only. Also, I would love to see finished projects, for any of you who decide to make my little garden apron!
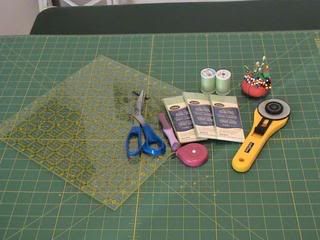
SUPPLIES:
Rotary Mat and Rotary Cutter
12 1/2 inch square ruler. I use one by Omnigrid
Yard Stick or longer ruler. I use an Omnigrid yardstick
Tape measure
Scissors
Seam Ripper
Spools of matching thread
1 package 1/2 inch double wide bias tape
3 Fat Quarters in coordinating colors - 1 main color, and 2 colors for the pockets
2 yards of 7/8 inch ribbon
Not shown: chalk and starch (both are optional, but I use them all the time)
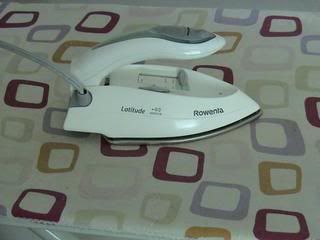
You'll also want a trusty iron and a good, steady ironing board. I have two irons, a Black and Decker, and a Rowenta Latitude. I prefer the Rowenta. It is a lot more reliable.
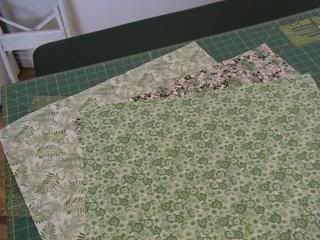
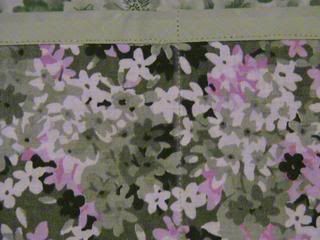
These are the three fat quarters that I used. I picked garden-themed prints since this is a gardening apron.
STEP ONE
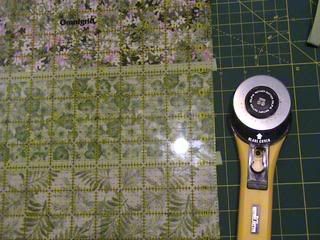
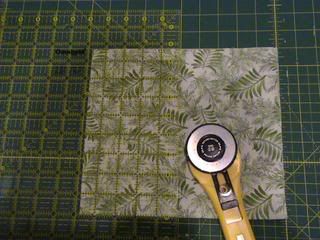
Square up your fat quarters. For help with this, see the Purl Bee. They have a great tutorial on rotary cutting and squaring up fabric here. When squaring your fat quarters up, try to trim off as little as possible. My 18x22 fat quarter ended up aroung 17 1/2 x 21 1/2 inches.
STEP TWO
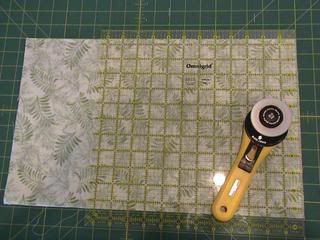
Cut your main fabric into a 12 inch piece. Set it aside for now. Keep the remaining fabric. We will use it later.
STEP THREE
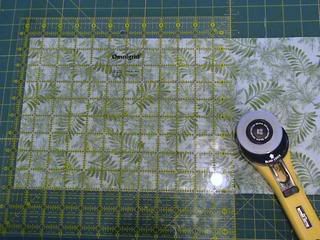
Cut your back row pocket fabric into a 9 inch piece. Set it aside. Take your front row pocket fabric and cut it into a 5 inch piece. Set it aside.
STEP FOUR
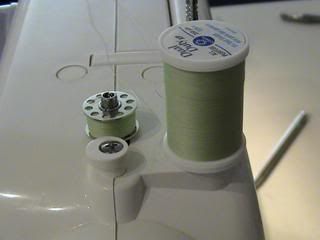
Now it is time to make sure your machine is ready to sew. Make sure your bobbin and top thread match. I picked a green thread that matched my bias tape as close as I could.
STEP FIVE
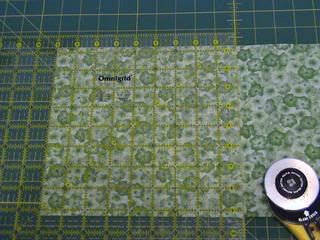
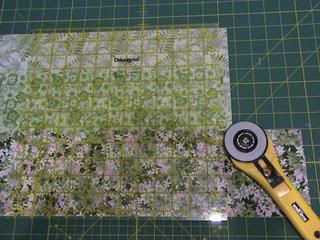
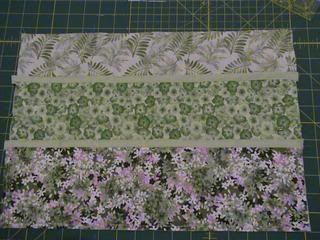
Layer your three fabrics on your cutting mat in this order: main fabric, back row pocket fabric, front row pocket fabric. Cut through all three layers so that the edges are even. Mine ended up at 17 inches.
STEP SIX
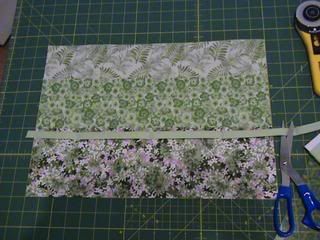
Measure out your bias tape to the front row pocket fabric.
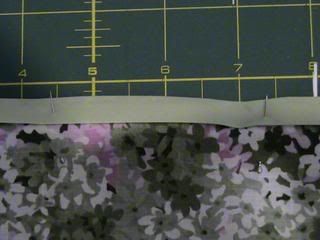
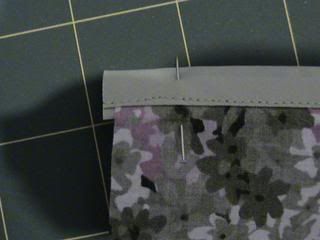
Pin it to the top edge of the fabric.
Make sure that you place the loner edge on the back side of the fabric.
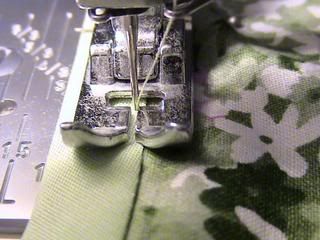
Stitch close to the edge of the bias tape.
Trim even to the edge of the fabric. Repeat for the back row pocket fabric.
STEP SEVEN
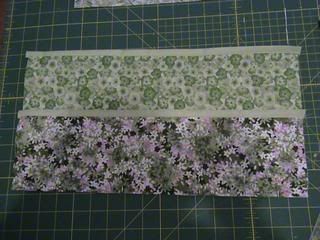
Layer the front row pocket fabric on top of the back row pocket fabric.
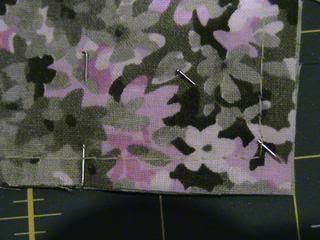
Baste the two layers together using a 1/4 inch seam allowance.
Repeat with the other fabric piece. Note: If you want to, you can combine this into one step and baste only one time.
STEP EIGHT
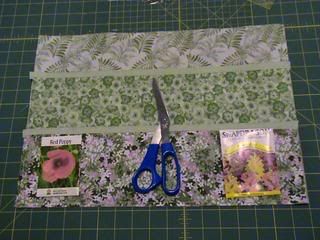
Decide how big you want your pockets to be. I used seed packets and scissors to help me decide where I wanted to stitch my pocket lines.
STEP NINE
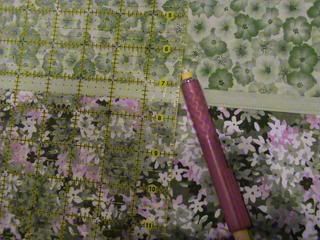
Using chalk and a straight edge mark the stitching lines for your pockets. This step is optional, but it is nice to have a guideline just in case you aren't too sure of how straight you sew.
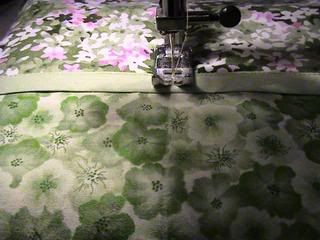
Stitch the pockets.
You should now have two rows with several pockets stitched onto your apron.
STEP TEN
Trim up the edges of the apron so that everything is even.
Bind the outer edges of the apron with the bias tape. You can either round the corners and not worry about mitering them, or keep them squared and do a mitered corner. I chose to do a mitered corner on mine. Here is how I did it:
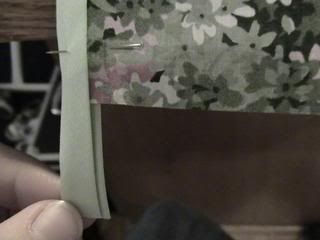
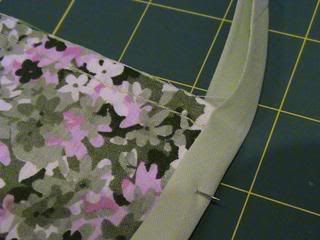
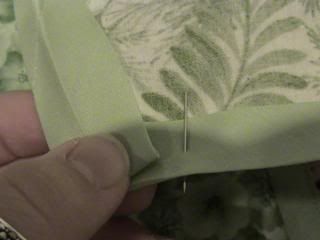
Apply the binding up to the corner of the fabric. Turn the binding, and lay it open underneath the fabric. See how it causes an angle to appear? You are going to fold the binding closed now on the other edge of the fabric.
This is what the back of the fabric with binding will look like.
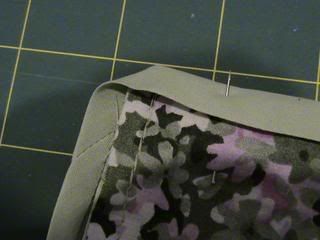
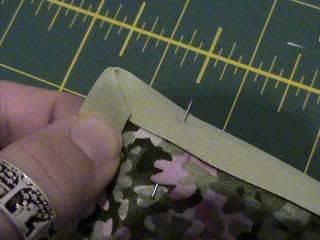
Here is your mitered corner. Make sure you pin it in place so it doesn't come apart while you are sewing!
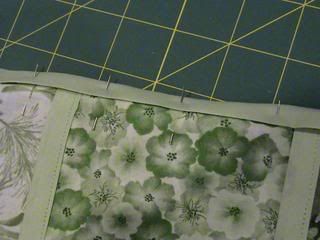
Continue applying the binding to the rest of the edges.
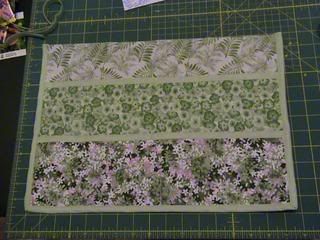
This is what it should look like when it is done.
STEP ELEVEN
From the main fabric color remnant, cut one 5 inch by 17 inch piece.
STEP TWELVE
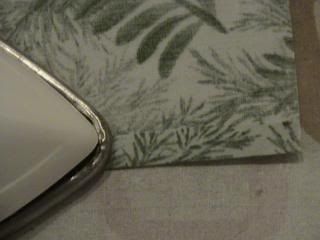
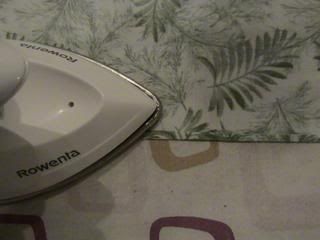
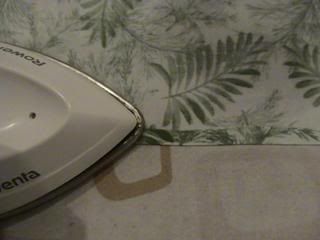
On the short ends of the 5 inch wide strip, fold in 1/4 inch. Press with an iron.
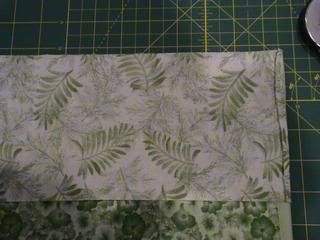
With right sides together, sew the strip to the top edge of the apron using a 1/4 inch seam allowance. This is now the apron waistband.
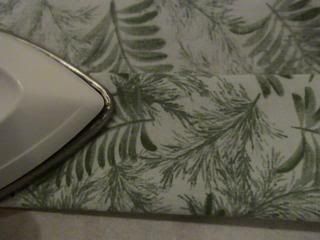
Press open like this.
STEP TWELVE
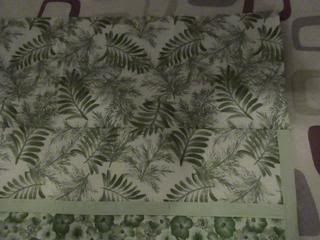
On top edge of waistband press under 1/4 inch. Fold another 1/4 inch over and press again. You should now have a clean, pressed top edge with no cut edges showing on the back side of the waistband.
Fold the waistband over on the back side of the apron so that it is even with the edge of the seam between the apron and the waistband. Press.
STEP THIRTEEN
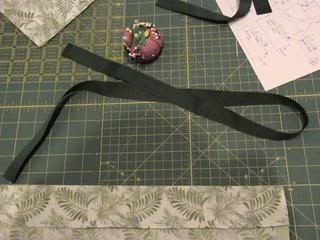
Measure out your ribbon into desired lengths. I used 2 pieces each at 36 inches (1 yard) long.
STEP FOURTEEN
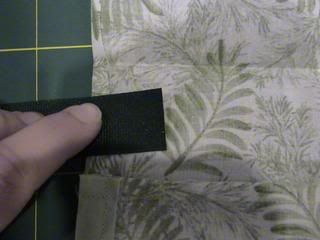
Open waistband. Center ribbon on lower half of the waistband. Put the end of the ribbon about 1 inch in from the edge of the waistband. Anchor in place using a 1/4 inch seam allowance taken from the edge of the waistband fabric.
STEP FIFTEEN
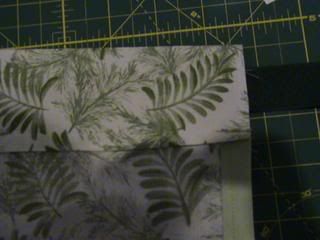
Fold the waistband back down.
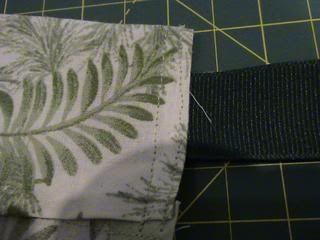
Stitch the edges closed at 1/4 inch and close to the edge of the fabric.
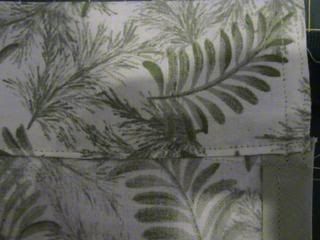
Stitch along the bottom edge close to the edge of the fabric.
7 comments:
Nice job! Thanks!!
Wow. Very nicely done. I'm super proud of you! Some of my best ideas come in the night or in dreams.
I have no ideas. or idea for that matter. Love the apron. For sure need one. I have a lot of gardening to do.
I have a hard enough time taking pictures, let alone attempting to run a sewing machine! *Sigh*
I guess I will stick to the easy stuff, like eating! I do that well:)
Very nice project! Might I suggest you put a finished photo at the start though? (I know - you have a gizillion photos but the finished is at the end and people might not stick it out! Got to get them hooked from the start!)
Heck you are way ahead of me on instruction writing. Good job!
Thanks for the suggestion Kathy, I didn't even think of that!
http://amyraeannesadventures.blogspot.com/2010/07/gardeners-apron-what-have-i-been-up-to.html
I used your tutorial and another few sites to combine to make a gardener's apron for the upcoming county fair. Thanks for posting and including lots of pictures!!!
Post a Comment